How to do a pedicure at home
Mar 11, 2021
It’s an indulgent moment of self-care and has the benefit of giving you gorgeous, show-off toes – a DIY pedicure at home is a ritual we all love. But do you know how to do a pedicure at home to salon-level glory? How do professional nail technicians manage to get everything looking so perfect and leave you with nails that don’t seem to chip as quickly as when you do it?
Here we walk you through how to give yourself a pedicure that will rival the professionals.
How to do a pedicure
Let’s face it, feet need some TLC. It’s not just about vibrant colours and dazzling polish. If you don’t give your feet some regular attention in the form of a pedicure then you could be on a direct route to cracked heels, ingrown toenails, and generally unkempt feet.
However, we also know that your feet can be a source of sublime relaxation and self-care. It’s not always possible to book a professional pedicure. But with a little bit of planning, you can learn how to do a pedicure for yourself that’s almost as good as the pros.
We’re not just talking a trim and a lick of polish; we’re talking soaking, buffing, massaging, soothing, and more.
How to do a professional pedicure step by step
1. Get everything ready
One of the reasons why a salon pedicure is so relaxing is that everything is all ready, in one place. You simply sit back, relax, and glide dreamily from stage to stage.
To recreate that feeling at home, choose a time and a place where you won’t be disturbed. Gather some towels and all the pedicure supplies you need, into one place. There’s nothing stopping you popping on some favourite music, lighting some candles, and pouring your favourite drink.
You’ll need: towels, cotton wool pads, nail polish remover (we recommend acetone free), nail and cuticle oil, a bowl for soaking filled with warm water, foot salts, foot file/pumice stone, emery board/nail file, nail clippers, nail buffer, cuticle oil and tool, foot cream or body lotion, rubbing alcohol, toe separators, base coat, colour nail polish, and top coat.
2. Prep your nails
Start with the basics. You need to remove any remnants of your last polish with a thorough polish removal.
If you’re removing gel polish, we really recommend getting the gel polish removal done professionally, to protect your nails. If that’s not possible, don’t worry – just follow our guide to removing gel and acrylic nails at home.
If you need to remove standard nail polish then soak a cotton wool pad in nail polish remover and press it to each nail for several seconds. This ensures the polish is easier to remove.
Sometimes, if you’ve had an intense shade of polish on, your nails and skin may take on a ‘tint’, which is definitely not the look you’re after. Simply massage in some cuticle oil and this should help to disperse the stain.
Take your time with old polish removal. A good job at this stage is the bedrock of a salon-worthy finish at the end.
3. Get soaking
It’s time to slip your feet into your bowl of warm water to soak your feet. Yes, this is an indulgent moment of pure relaxation where it’s absolutely permissible to grab a good magazine and your drink. But it also serves the purpose of softening your cuticles and the skin around your toes and heels.
Adding foot salts (or bath salts) to the water makes this a particularly luxurious stage.
4. Dry and buff
There’s something incredibly satisfying about buffing away the dead skin on your feet!
Dry off your feet using a towel and then use a foot file or pumice stone to gently smooth your feet. Focus on your heels, around the ball of your foot and even the ends of your toes. Any particularly hard areas will need some extra attention. The goal here is soft and smooth, not red and raw!
5. Trim your nails
Next, use your nail clippers and trim your nails. For now, just concentrate on the length you’d like, as the next step is all about how to shape your toenails. Take care not to trim your nails too short, especially at the edges, as this can cause ingrown toenails.
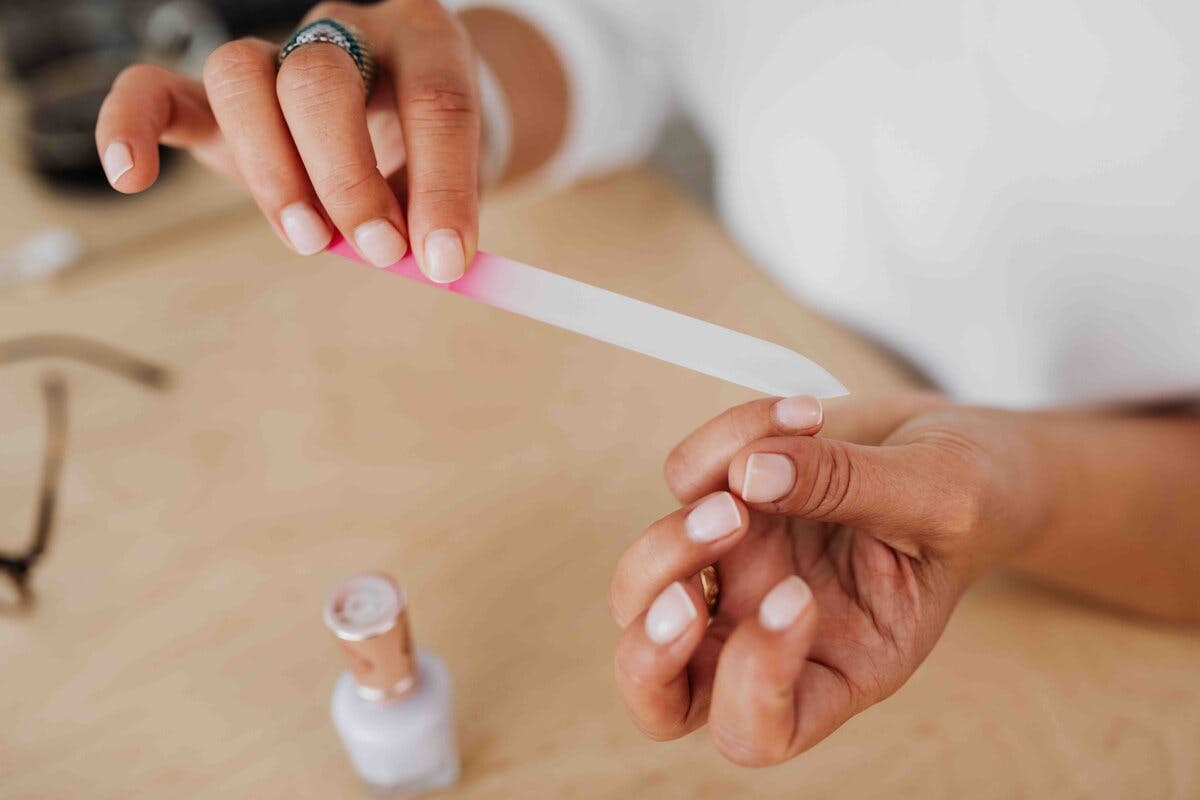
6. Shaping
This step is where you may begin to notice the difference between a professional pedicure at home and a DIY pedicure. Knowing how to shape toenails so that they look like they’ve been done by a professional nail technician can take a bit of patience and practice.
Use a fairly small nail file or emery board and start with the corners and edges of each nail. Work your way towards the centre, ensuring a smooth finish.
7. Work your cuticles
Take care with your cuticles. Add a couple of drops of cuticle oil and massage it in. If you want, you can then use a cuticle tool to gently push your cuticles into shape. If in doubt, leave this step for your next pro pedicure.
8. Give yourself a foot massage
Indulge in some real TLC by massaging your feet with foot cream or body lotion. Once you’re done, use a cotton wool pad to clean the remnants of oil and lotion from your nails. This can be one of the reasons why your DIY pedicure doesn’t last as long as your salon one!
9. Apply your base coat
Another reason that a professional pedicure lasts longer is the base coat. Use your toe separators and apply the base coat carefully. Ensure that you cover the whole nail, taking the base coat as close to the edges as you can.
10. Apply your colour
Apply your first coat of colour, rest and relax, and then apply a second coat. How long it takes for a pedicure to dry is dependent on the polish itself and the heat and humidity of the air. So, use the excuse and take your time. Then apply the top coat, and again wait until it is fully dry before you decide to move.
Armed with these tips, you can now create a beautiful pedicure experience in your own home. Once done, follow our advice on how to make your pedicure last longer.
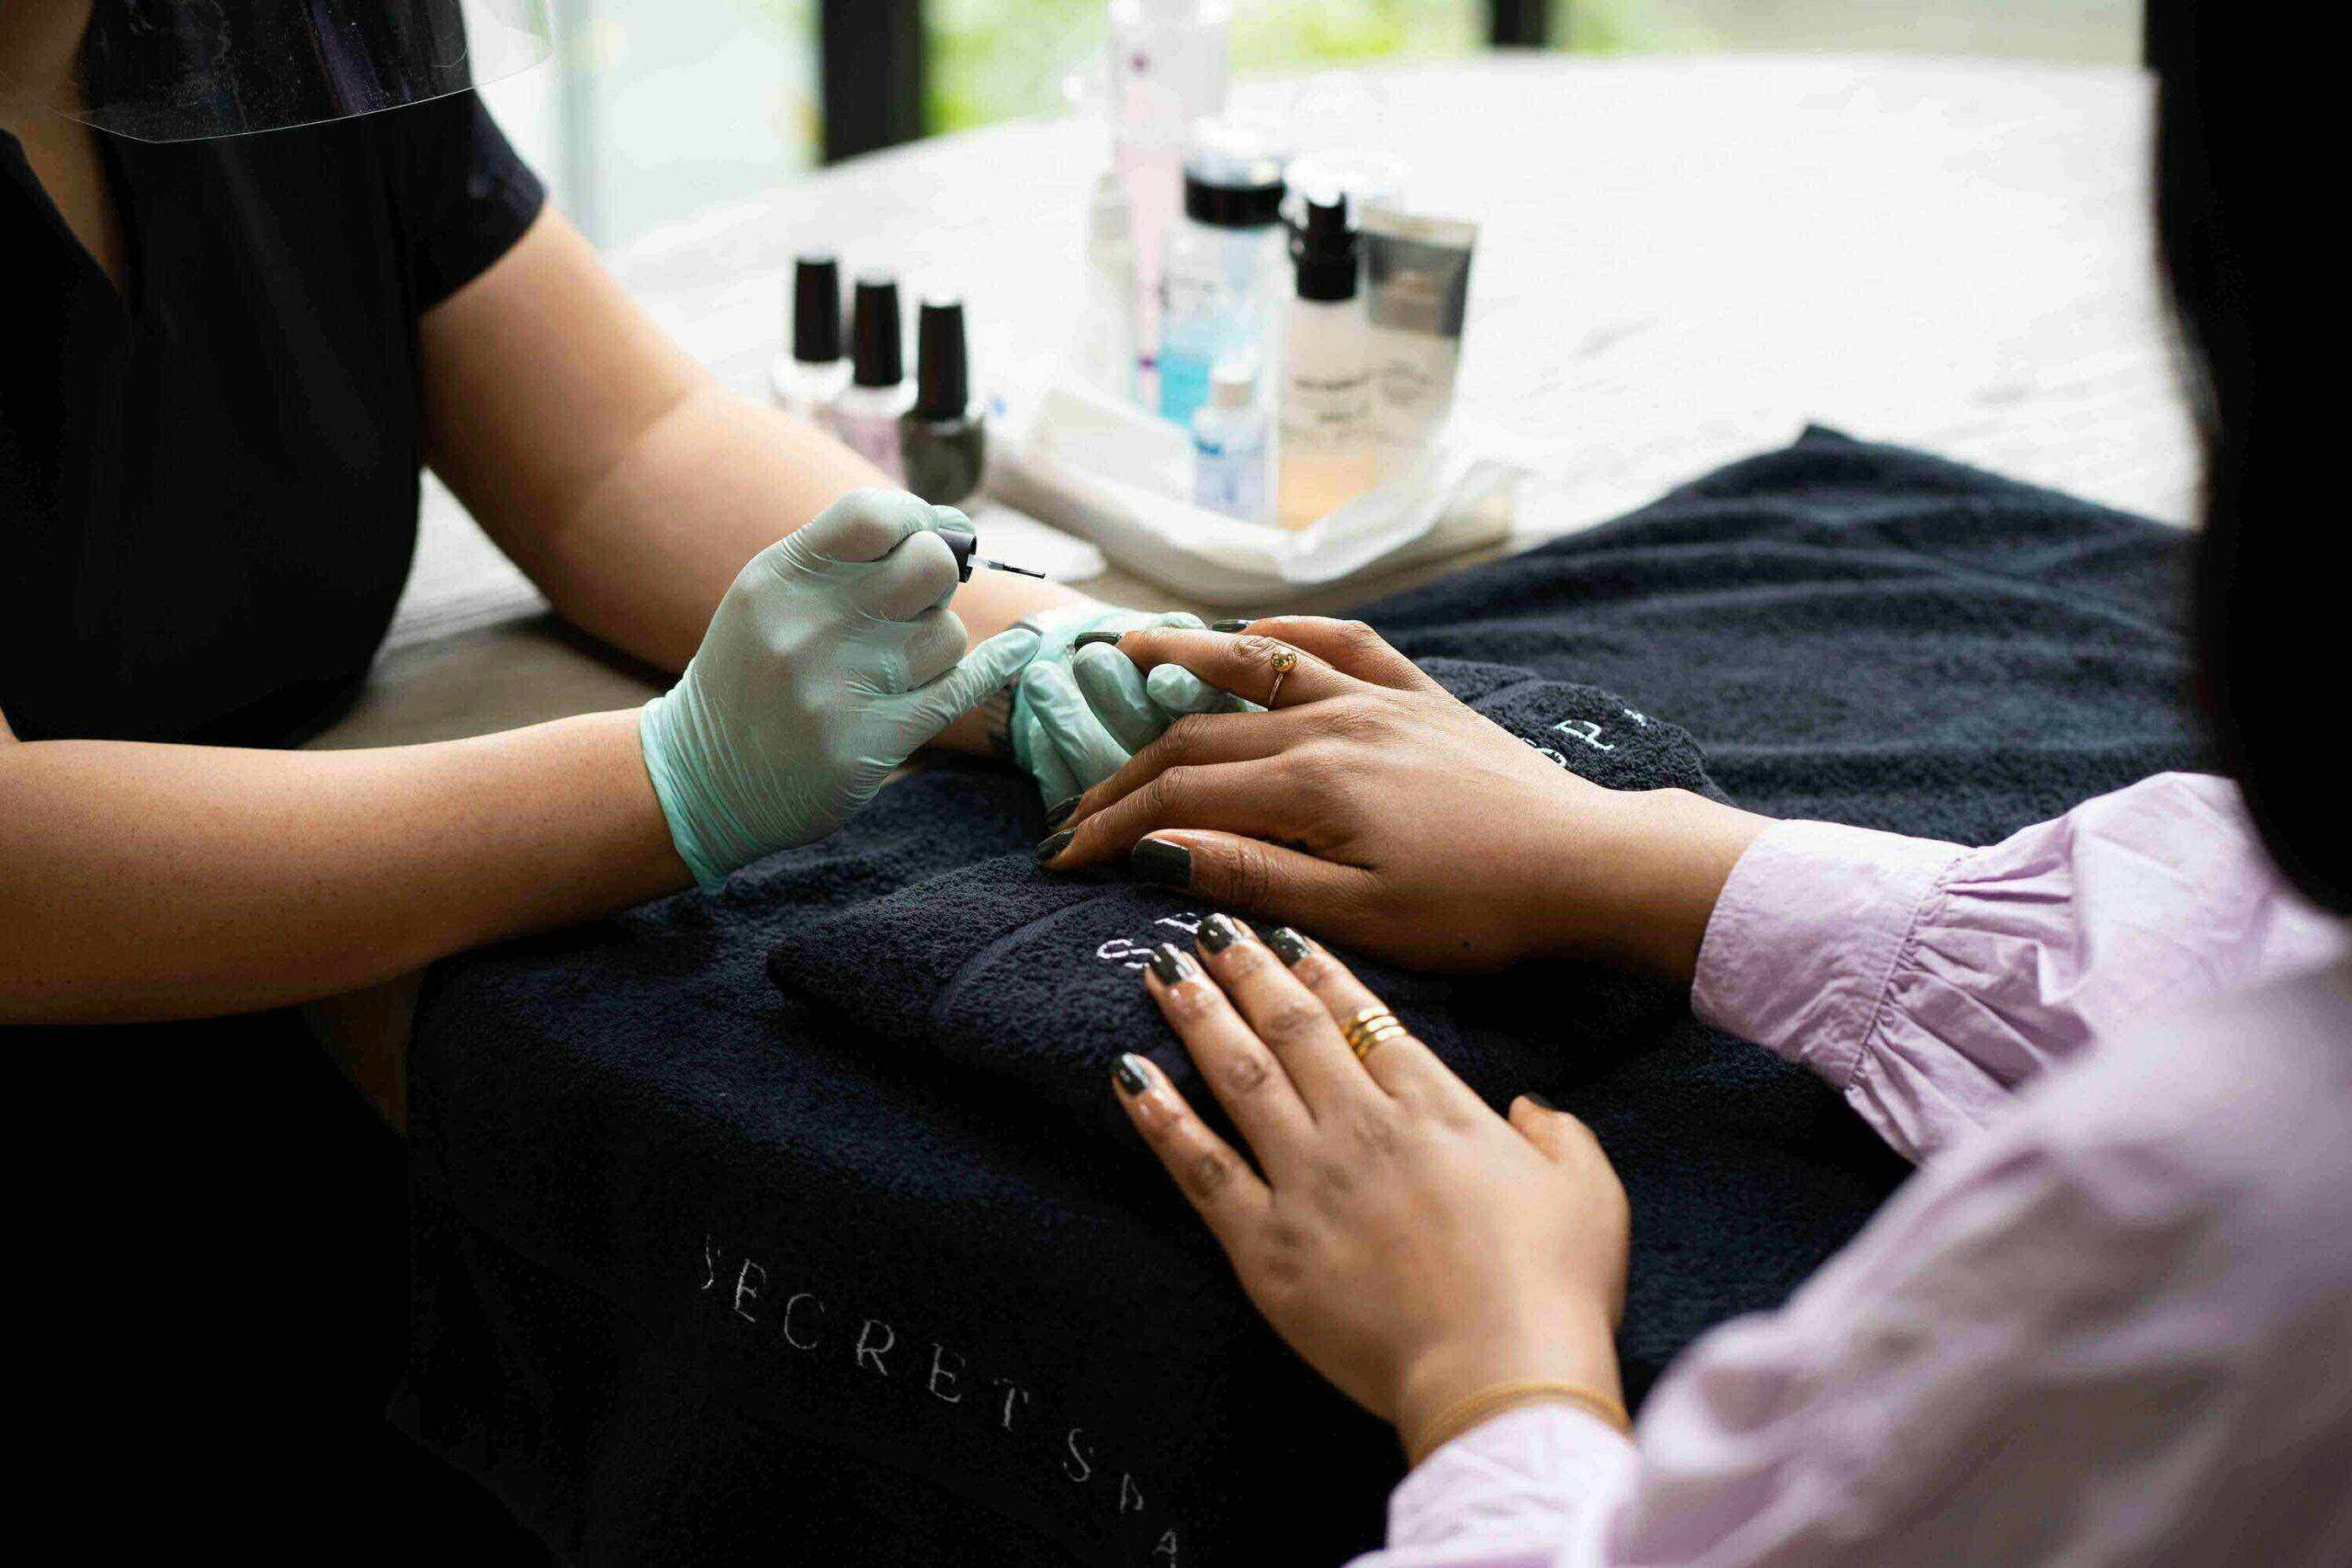
Let’s face it – a DIY pedicure isn’t ever going to be quite as relaxing and luxurious as letting the professionals in. That doesn’t mean you can’t still have your pedicure at home! Book your pedicure at home with Secret Spa, and let our expert nail technicians come to you.
Book our
experts today
Related Articles

What’s the difference between gel and shellac?
Apr 3, 2020
Your complete guide to the different types of manicure
Apr 19, 2021

Everything you need to know about builder gel
Oct 23, 2022

How To Care For Your Gel Manicure
May 7, 2025
How to get strong and healthy nails
Jan 31, 2022

How to make your pedicure last longer
Apr 29, 2025