How to remove gel and acrylic nails at home
Nov 19, 2020

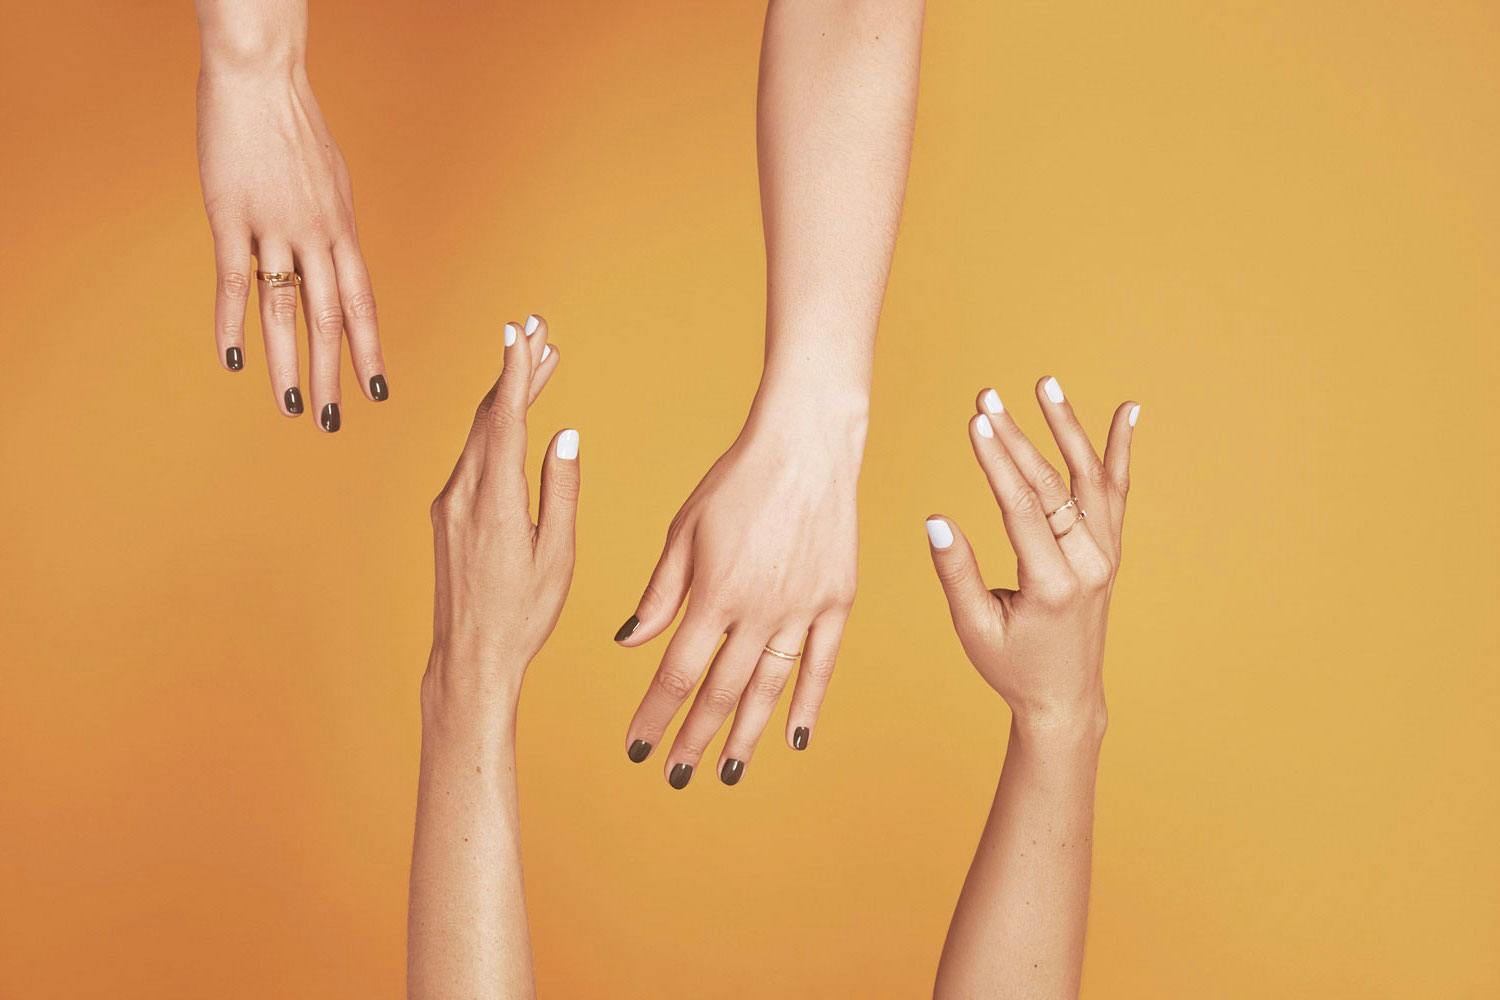
Both gel and acrylic nails give you long-lasting high intensity nails. From bold striking plain colours through to fancy designs, gel and acrylic nails are now the favourite choice for many. However, in your excitement to get these professional nails, you may soon find yourself wondering how to remove gel or acrylic nails. Gone are the days of whisking out a bottle of nail polish remover and being done with it. Unsurprisingly, for longer lasting effects, you need careful and professional removal techniques.
Realistically, removing your gel or acrylic nails doesn’t feel like pampering in the way that old-school nail polish removal did. It can feel like a chore and one which you’re worried about getting right, without doing damage to your nails.
The simplest option for gel and acrylic removal
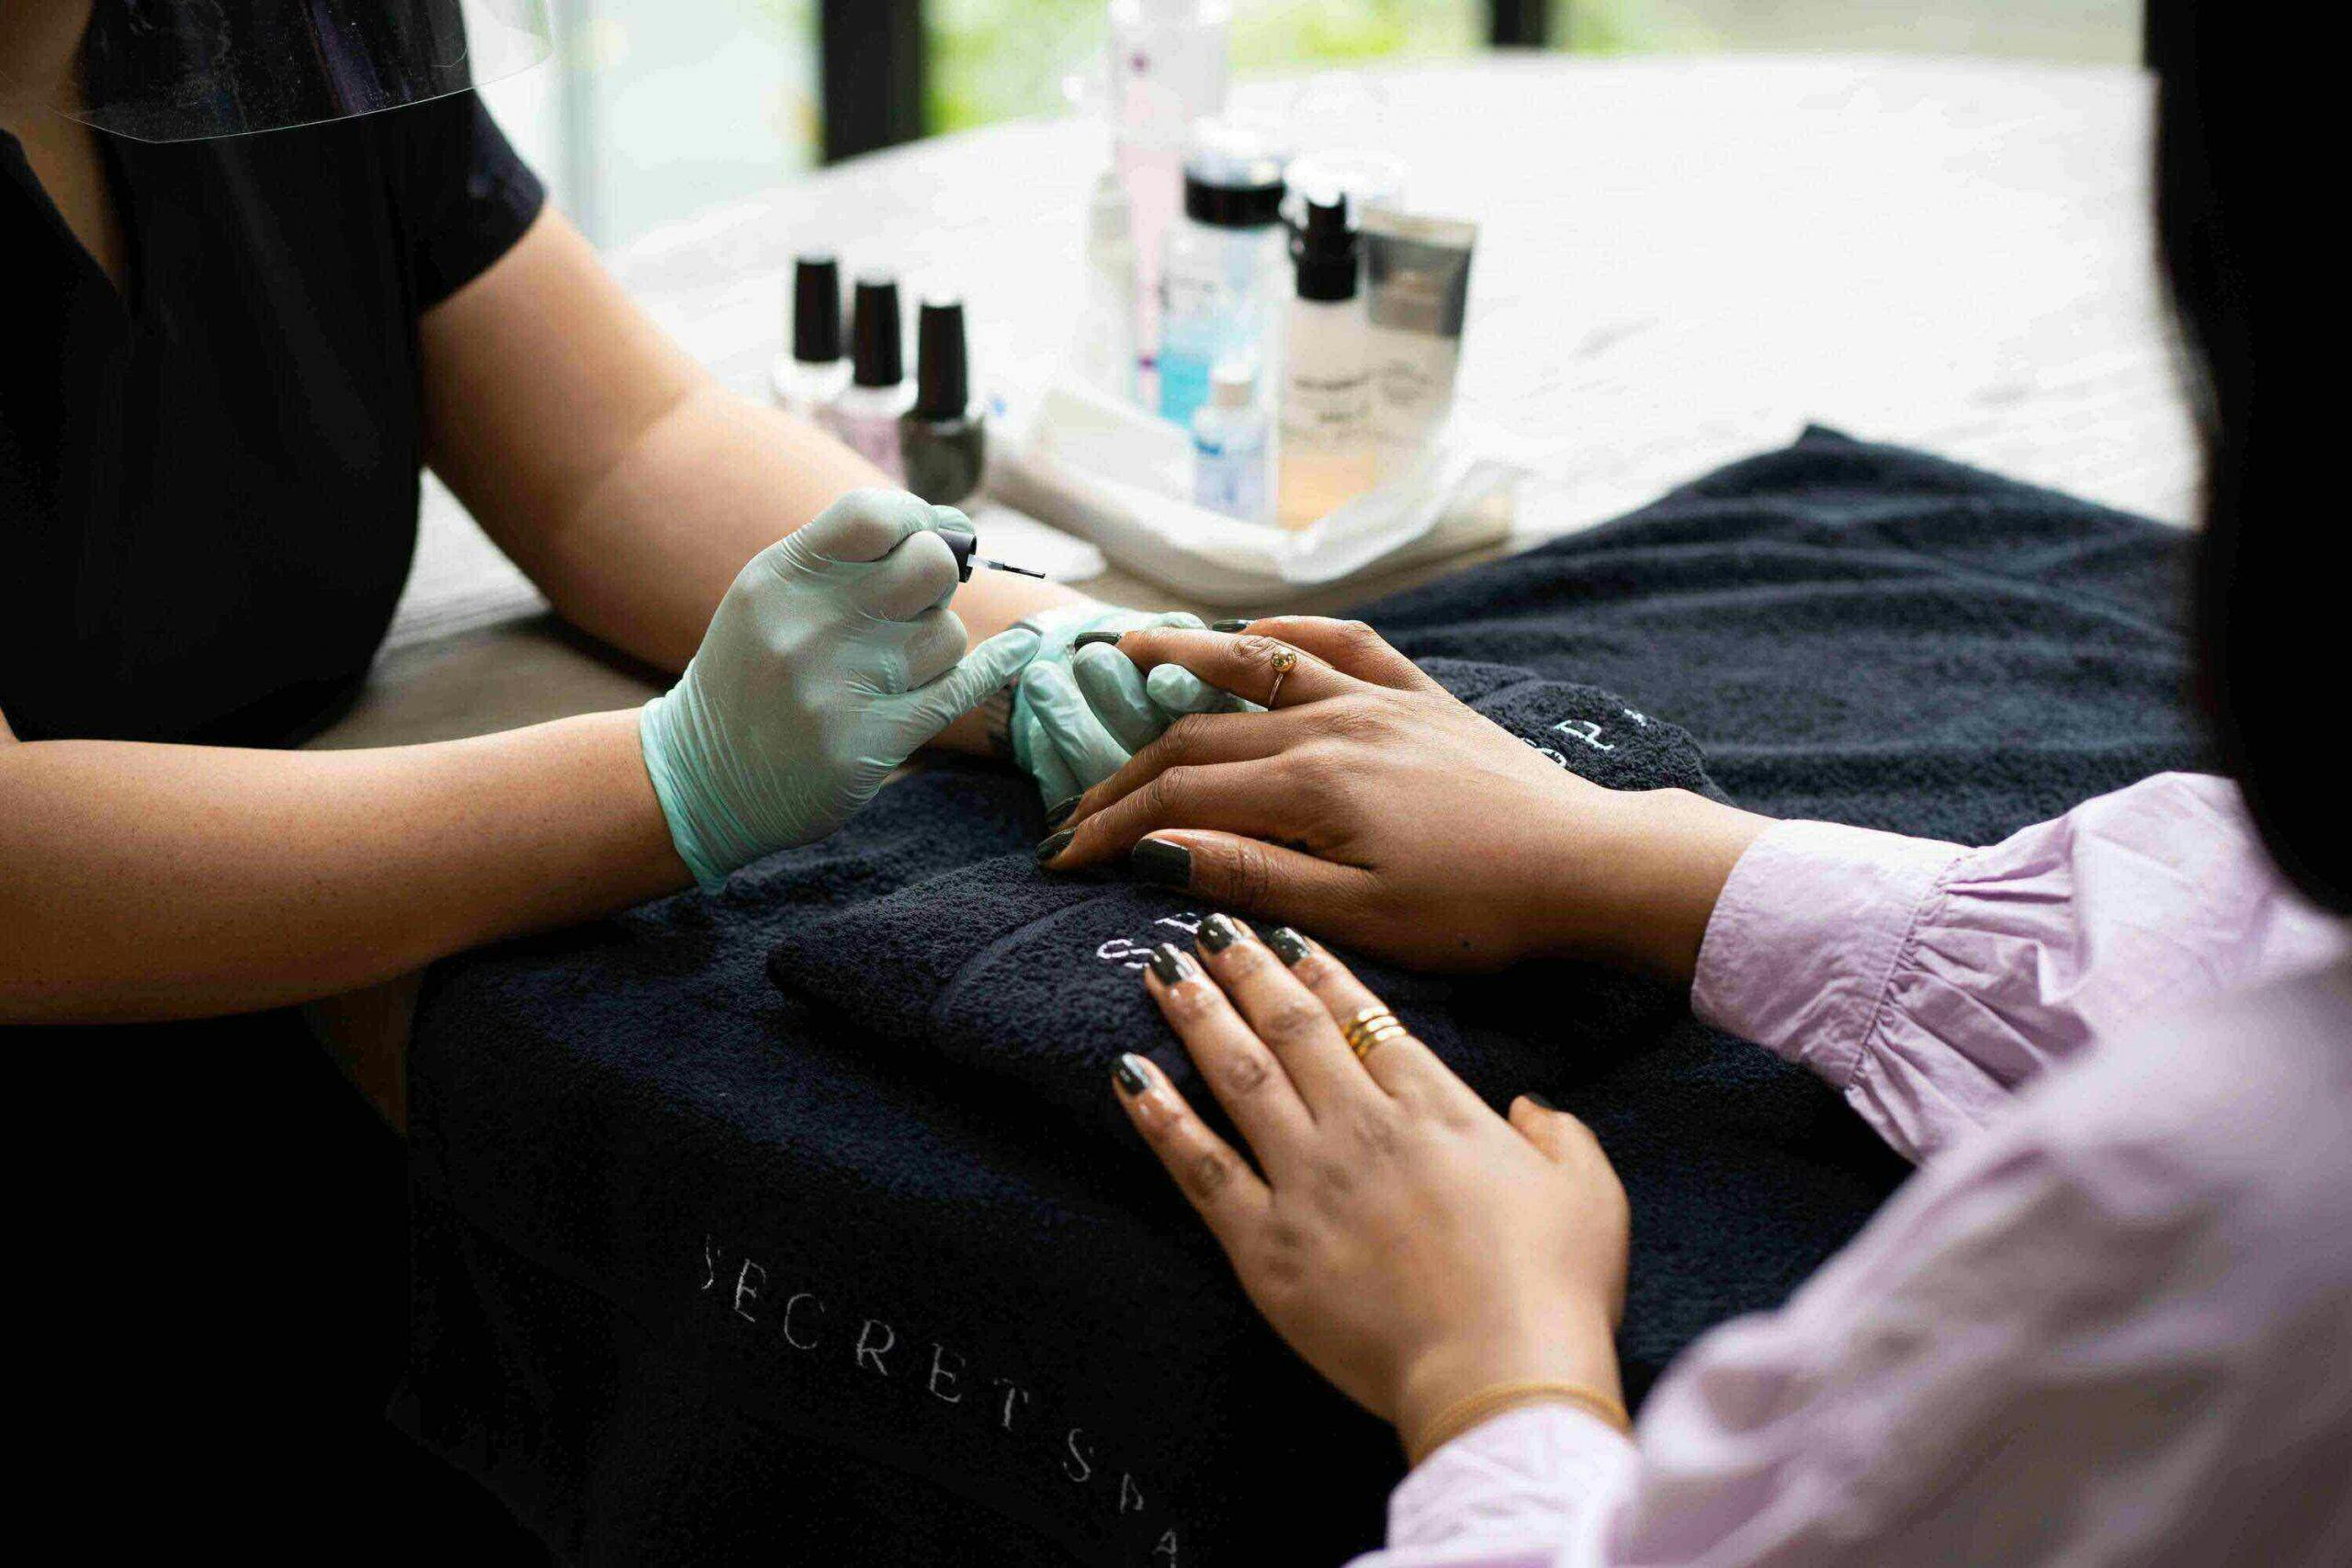
The best and simplest option is to ask your professional nail technician to remove the gel or acrylic nails for you. They can often do this immediately before you have a new treatment, as long as occasionally you leave a gap between manicures or pedicures, to give your nails a chance to revive.
At Secret Spa, we are nail pros. Not only can you have your new nails done at home, we are professionals at removing gels nails and acrylic nails too. This is a very low cost service, so you’ve really got nothing to lose by getting the professionals to do it for you. Using a professional will ensure that no damage is done to your nails and you don’t need to buy any costly equipment, or put yourself through the dull chore.
However, perhaps you’re in lockdown, or want a break between gel or acrylic application. If that’s the case, is there a DIY option? Here we discuss what you should do about removing each type of polish.
How to remove acrylic nails at home
Acrylic nails are the artificial nails that adhere to your own nails underneath. You may be familiar with these occasionally pinging off which can give the false impression that removing acrylics at home will be easy-peasy. Unfortunately, it’s not quite so straightforward.
Simply applying some force to the acrylic nail in an attempt to remove it will only ensure that, even if you are successful, you take some of the natural layers of the nail plate with it. This is bad news and will result in brittle, thin and damaged nails which take ages to grow out. It requires a more careful approach to avoid damage.
If you really want to do it yourself, here’s how to remove acrylic nails at home:
File the acrylic nail
Start by filing the entire acrylic nail. Effectively, you need to try and file off as much of the artificial nail as possible from the upper layer down. For this, a basic emery board is ineffective. You’ll need a sturdy and coarse nail file. Ideally you want to file though the upper layer of product down to the top of the acrylic itself. It can also be helpful to file the top of the nail to get it level with your natural nail underneath. This helps the next stage to work more effectively.
Soak your nails
Now you need to create a small soaking ‘bath’ which you can dip your nails in using 100% acetone. Ideally, you want to soak your fingertips in acetone for as long as it takes for the acrylic nails to come off easily. This should be carried out in a well-ventilated room, as acetone fumes can be strong.
Whilst this process is the simplest and most effective at soaking, it can be harsh on your skin. Instead, you can soak cotton wool pads in acetone and secure these to your fingers with foil. You can also get a number of different products that effectively replicate this process, if you prefer.
Scrape and buff
After about 20 minutes of soaking your nails in acetone, most of the acrylic nail should have effectively dissolved away. There will be remnants but this will be much softer. Use a cuticle pusher to scrape off these last bits of acrylic. Be very careful not to damage your nails and repeat the soaking process if necessary.
As you can imagine, this home removal process is quite harsh on your nails. We recommend following up with some cuticle oil and cuticle cream. Then give yourself at least a week before applying new acrylic nails.
How to remove gels nails at home
Knowing how to remove gel nail polish yourself is a similar process. The only difference being that you wouldn’t require a soaking bath for gel nails, as this would be too harsh. Instead, use cotton pads dipped in acetone which are secured in place with tin foil wrapped around each finger. You may need to repeat this filing and soaking process a number of times.
With gel nails, it is important to avoid the temptation to pick loose edges of the nails when they start to show signs that they are ready to be removed. Whilst tempting, this can damage your nail beds. Remember, the lacquer has been ‘cured’ to your nails – just because it is loose in one area doesn’t mean it will peel off! Withstand the temptation.
Our professional nail technicians can remove your gel nails at home for just £8. It’s definitely worth it for a quick and professional removal technique which doesn’t involve you doing it yourself!
Avoiding the pitfalls of DIY gel and acrylic removal
To remove gel and acrylic nails you will need to buy the equipment you need, most notably large amounts of acetone. If you get this on your furnishings or furniture, there is a high chance it will cause damage. And let’s be honest, when you’re doing the dull task of removing gel or acrylics, whilst also tackling difficult dexterity because of the foils, there is a high chance that you will end up with acetone on your clothes and your furniture.
If you want your gel or acrylic nails removed at home, you can get a professional to do it for you. Book a nail technician to come to your home with Secret Spa.
[button link="https://book.secretspa.co.uk/categories/nails"]Book Nails[/button]
Book our
experts today
Related Articles
What’s the difference between gel and shellac?
Apr 3, 2020
Your complete guide to the different types of manicure
Apr 19, 2021

Everything you need to know about builder gel
Oct 23, 2022

How To Care For Your Gel Manicure
May 7, 2025

How to get strong and healthy nails
Jan 31, 2022

How to make your pedicure last longer
Apr 29, 2025
